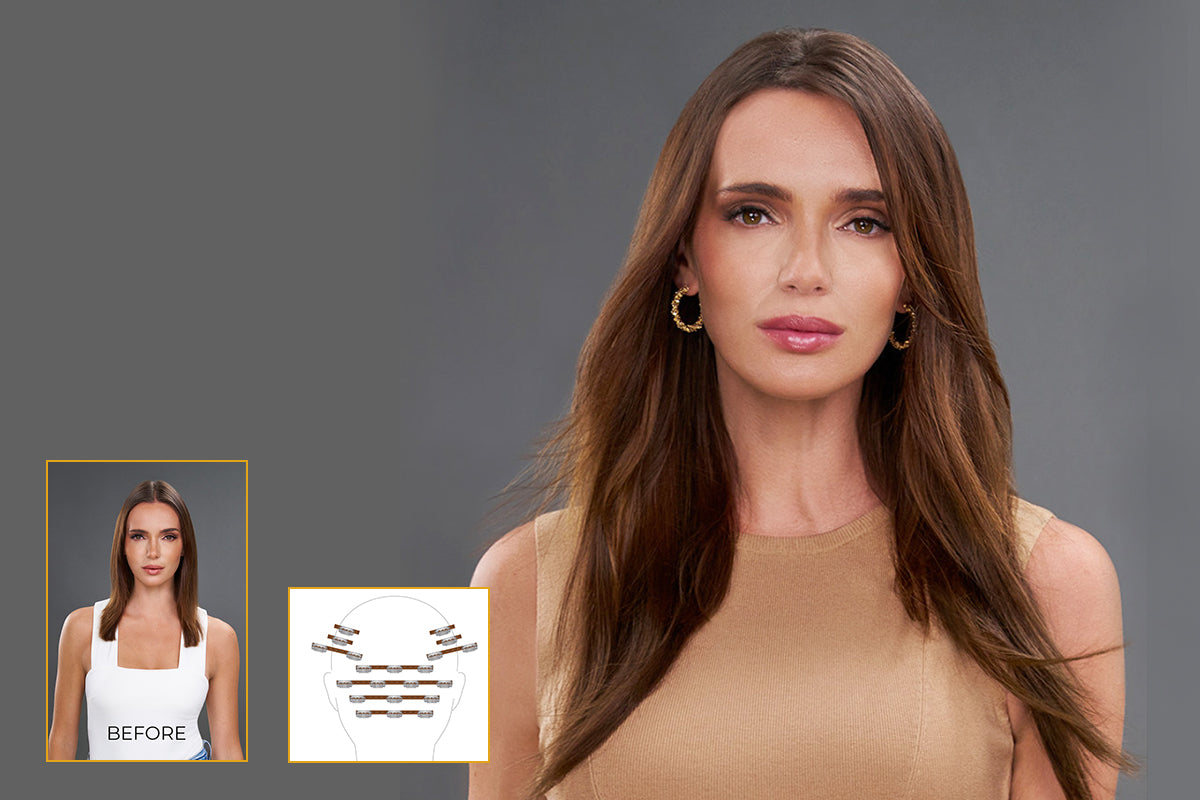
Hair extensions are an excellent way to achieve natural-looking length, volume, and color in a matter of minutes. They are versatile, allowing for a range of styles whether it’s for a special occasion or your everyday look. Among the various types of hair extensions, clip-in extensions stand out due to their convenience and ease of use.
Clip-In Extensions:
Benefits:
-
Quick and Easy Application:
- Clip-in extensions can be applied and removed within minutes, making them an ideal choice for those who want to change their look quickly and effortlessly.
-
Natural Appearance:
- Designed to blend seamlessly with your natural hair, clip-in extensions are available in a variety of lengths and color options, ensuring optimal blending and a natural look.
-
Versatility:
- These extensions can be heat-styled just like your natural hair. Whether you want to curl, straighten, or wave them, clip-in extensions can handle it, allowing for various styling options.
-
Comfort:
- Clip-in extensions are designed to be discreet and comfortable. The clips are usually lightweight and do not put excessive strain on your natural hair, making them suitable for all-day wear.
-
Non-Damaging:
- Unlike some permanent hair extensions, clip-ins do not involve any glue, tape, or sewing. This means they are less likely to cause damage to your natural hair.
How to Use and Attach Clip-In Extensions:
-
Preparation:
- Start with clean, dry hair. Brush your hair thoroughly to remove any tangles and ensure a smooth base for the extensions.
-
Section Your Hair:
- Use a tail comb to create a horizontal parting across the back of your head, starting just above the nape of your neck. Clip the upper section of your hair out of the way.
-
Attach the Extensions:
- Take a weft (a section of the clip-in extension) and open the clips. Place the weft along the parting, ensuring it’s as close to your scalp as possible. Snap the clips shut, starting with the center clip and then the side clips. This secures the weft in place.
-
Blend and Style:
- Release the top section of your hair and create another horizontal parting above the first one. Repeat the process of clipping in the wefts. Continue this process, working your way up your head. For side sections, create partings above your ears and attach smaller wefts.
-
Finishing Touches:
- Once all the extensions are in place, gently brush through your hair to blend the extensions with your natural hair. You can now style your hair as desired using heat tools or simply leave it as is.
Tips for Optimal Use:
-
Color Match: Choose extensions that closely match your natural hair color for the most seamless blend. Many companies offer color-matching services or samples to help you find the perfect shade.
-
Length Selection: Decide on the length you desire. Clip-in extensions come in various lengths, allowing you to choose whether you want a subtle increase in volume or a dramatic length change.
-
Maintenance: To keep your extensions in good condition, wash them occasionally with gentle shampoo and conditioner. Avoid excessive heat styling to prolong their lifespan.
-
Storage: When not in use, store your clip-in extensions in a cool, dry place. Use a hair extension hanger or a dedicated storage box to keep them tangle-free and ready for the next use.
In conclusion, clip-in hair extensions offer a fantastic way to enhance your hair’s length, volume, and color quickly and without commitment. With their ease of use, natural appearance, and versatility, they are an excellent option for anyone looking to experiment with different styles or enhance their everyday look.

